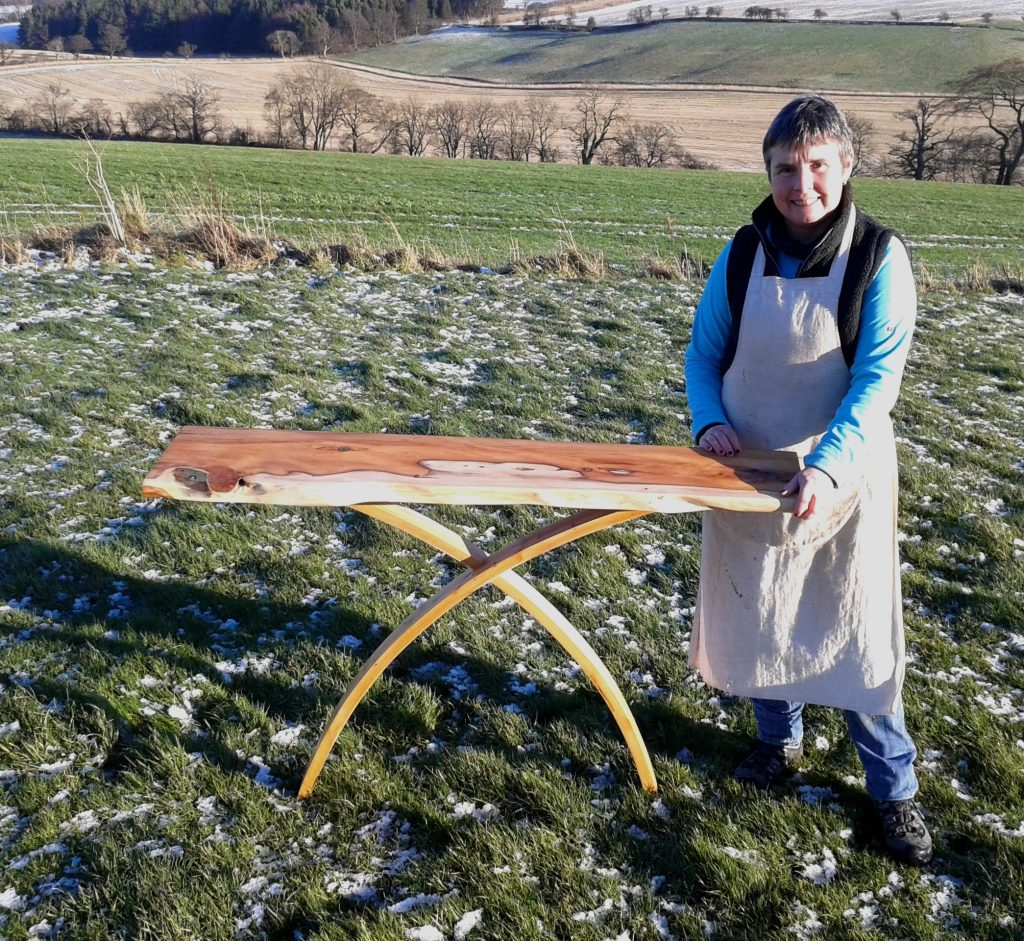
Until I joined the 2014/15 course at the Chippendale International School of Furniture, I had no experience whatsoever in designing or making furniture, writes Fiona Thorburn, one of this year’s students.
Given my novice state, I decided to try something simple but elegant: a console table for my house in Edinburgh. Priority one, given the need for simplicity, was to use a very characterful wood – and I decided on Yew.
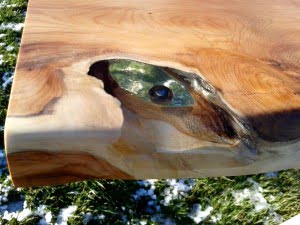
I also wanted to incorporate my proposed signature (I like the idea of a personal motif for my work) – a solid steel marble known in Scotland as a “steelie” (my maiden name is Steel) floating in clear resin.* This required the wood for the table top to have a natural knot/flaw going all the way through.
I drew the table in life size and made a miniature balsa wood model, which helped me visualize and develop the design. Believe me, getting this initial phase right is very important.
Having chosen the wood for the top, including the through knot, the next step was to make the legs. A piece of solid Yew was bandsawn into 7 X 2-3mm layers per leg. A jig was built from MDF so the layers could be glued together and clamped in a curve. Cascamite glue was used and the legs were left clamped over a weekend.
The resin with the floating “steelie” took several attempts, with trial runs taking place in an MDF box. This was really helpful in estimating the amount of hardener to use. The challenges with the real thing were to work out how to fill a natural hole in the wood with resin without it leaking over the rest of the table, get the steelie ball in the right place in the resin so it appeared to float, and to accurately judge the amount of resin hardener to use.
The top and legs were sanded to 320 grit then given three coats of shellac and sanded to 320 again – although this had to repeated as clamp marks became obvious after the first round of shellac. The resin was then sanded to 12000 grit using micro mesh.
Getting the legs even was challenging and involved many visits to the disc sander! The legs were left around 5-10mm longer than needed to allow for sanding. There were different views on how best to fix the legs to the top including dominos, screws and glue. The final decision was to use german pegs and white glue.
This was left for 24 hours, after which the peg heads were drilled out and yew plugs (from the same plank) glued in to finish off the leg fixing.
Making this table has taught me several lessons.
First, a full scale drawing and model were really useful in honing the design, as well as explaining to other students and tutors what I was trying to achieve – and their feedback was invaluable.
Second, always measure several times before cutting and allow at least 100mm extra everywhere.
Third, think several steps ahead, be meticulous in sanding after shellac, use good light and have a keen eye to spot rogue clamp marks! Better still always use scrap wood between the clamp and actual piece.
Fourth, prepare thoroughly – for example, ensure a completely level work surface and that everything you need, such as clamps, are close to hand and in working order.
Finally, be brave and try things you’ve never done – which in my case was everything! I’m now the proud owner of a beautiful table that everyone wants to touch and feel how smooth the resin and wood are!
Big thanks to the other students and to tutors Anselm, Mattie, Graham and Alan for their help and advice.
*Favoured name for my business is WoodBySteel
